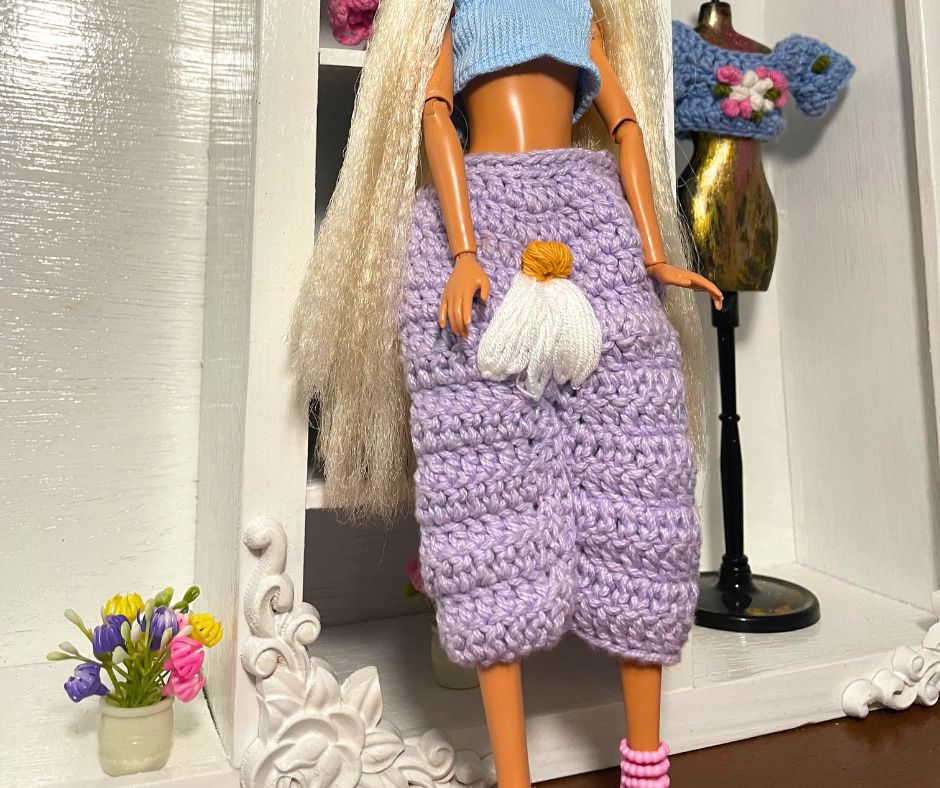
These Fashion Doll Crochet Pants are a fun little project to add to your collection of handmade doll clothes. I love how crochet makes it possible to create so many different pieces for fashion dolls, from pretty tops and dresses to skirts, accessories, and pants like these. This pattern uses mostly simple double crochet stitches, so once you understand the construction, the pants come together quite easily. You will crochet the two legs separately, join them together, and then crochet the waistband directly around the top.
Supplies
For this project, you will need:
- Crochet yarn suitable for creating small fashion doll clothing
- Crochet hook suitable for your chosen yarn
- Scissors
- Yarn needle for weaving in the ends
You can experiment with different yarn weights and hook sizes depending on how fitted or textured you would like your finished pants to be. A thinner yarn is especially nice for doll clothes because it helps keep the stitches and finished garment in proportion with the doll.
Crochet Abbreviations
- Ch – Chain
- DC – Double Crochet
- SC – Single Crochet
- Dec DC – Decrease Double Crochet
- Sl St – Slip Stitch
Fashion Doll Crochet Pants Tutorial
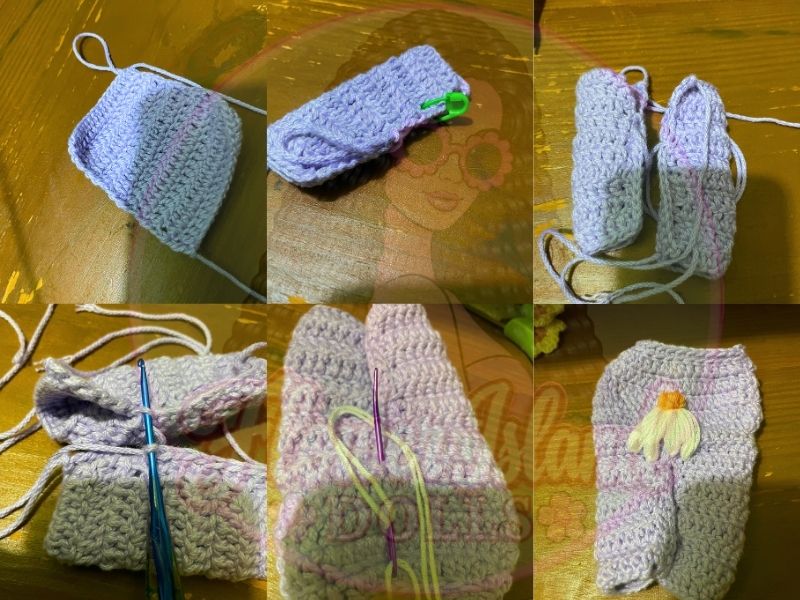
Begin With a Slip Knot
Make a slip knot and place it onto your crochet hook.
Chain 18.
Row 1
Starting in the 4th chain from the hook, work 1 double crochet into every chain across the row.
Rows 2–10
Chain 2 and turn your project.
Work 1 double crochet into every stitch across the row, beginning at the start of the row.
Repeat this process until you have completed Row 10.
You should now have a rectangular crocheted piece that will form one side of the pants.
Forming the First Leg
After completing Row 10, fold the crocheted piece in half.
Using single crochet stitches, connect the two sides together by working 1 single crochet into each stitch, joining the sides from the bottom edge upward until you reach approximately Row 7.
Leave the remaining section open. This opening will later be used to join the two legs together and form the crotch area of the pants.
Fasten off if necessary.
Crochet the Second Leg
Repeat the entire process again to make the second leg.
For the second leg:
- Make a slip knot and chain 18.
- Crochet Row 1 using double crochet stitches.
- Continue Rows 2–10 in double crochet.
- Fold the piece in half.
- Single crochet the sides together up to Row 7.
You should now have two matching crocheted leg pieces.
Joining the Two Legs
Position the two crocheted legs beside each other with the open portions at the top.
Join the open sections at the front of both legs together.
Once the front has been joined, repeat the same process along the open sections at the back.
This creates the main pants shape and connects the two separate legs into one garment.
Before beginning the waistband, you can gently straighten the pants and check the shape to make sure the front and back joins are secure.
Crocheting the Waist
Now you can begin building the waist of the pants.
Waist Rows 1–3
Work 3 rows of double crochet around the entire top edge of the pants.
At the end of each round, join with a slip stitch.
These three rows will add height to the pants and begin forming the waistband.
Decreasing the Waist
Next, crochet 2 decrease rows to bring the waistband in so that it fits more closely around the doll’s waist.
First Decrease Row
Chain 1.
Then repeat the following sequence around the waist:
2 double crochets, followed by 1 decrease double crochet.
Continue repeating:
2 DC, 1 Dec DC
until you reach the end of the row.
Join the row.
Second Decrease Row
Repeat the same decrease pattern for one more row.
Chain 1.
Then continue:
2 double crochets, followed by 1 decrease double crochet.
Repeat around the entire waist and join the row.
The waistband should now be noticeably narrower than the main body of the pants.
Finishing the Waistband
For the final row, work 1 single crochet into every stitch around the top of the waistband.
When you reach the beginning of the round, join with a slip stitch.
Fasten off the yarn.
Use a yarn needle to carefully weave in all loose yarn ends.
Your Fashion Doll Crochet Pants are finished!
Embroidered Daisy Video Tutorial: Follow my***YouTube Embroidery Daisy Tutorial***
Ideas for Customising Your Crochet Pants
Once you have made the basic pattern, try making several pairs in different colours and yarn textures. Soft pink, lavender, baby blue, cream, white, mint green, denim blue, black, and pretty pastel shades can all create completely different looks. You could also experiment with variegated yarns or tiny striped colour combinations.
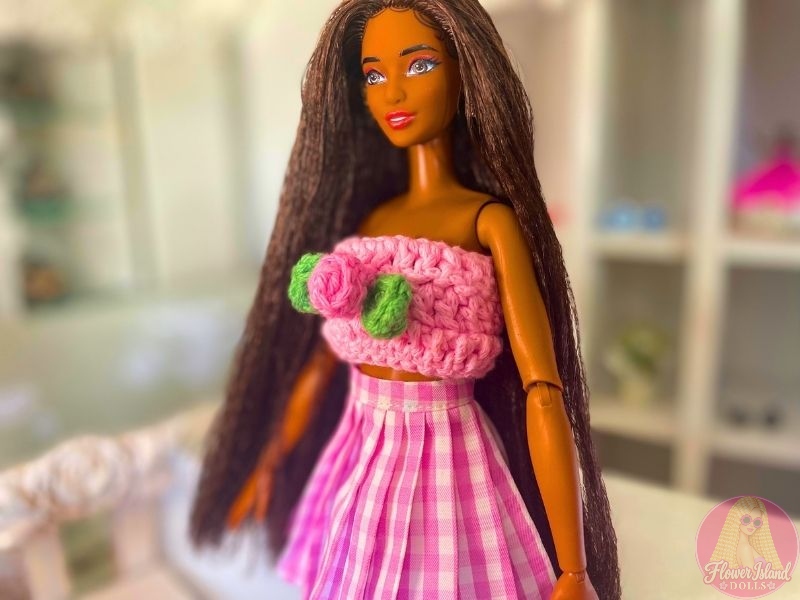
Pair the finished pants with a handmade crochet crop top, blouse, cardigan, halter top, or other miniature pieces from your doll wardrobe. Changing the yarn colour and the pieces you pair with the pants can take the same basic crochet pattern from a casual everyday doll outfit to something much more colourful and playful.
Making tiny doll clothes is such a lovely way to experiment with crochet stitches, colours, and outfit ideas without needing a large amount of yarn. I hope you enjoy making these Fashion Doll Crochet Pants and creating your own little variations of the pattern. Keep visiting and browse the blog to download more free doll clothes sewing patterns and free doll clothes crochet patterns, and be sure to check out my beautiful dollhouse and my Barbie doll reviews.There are always more tiny outfits, doll projects, and dollhouse inspiration to discover!