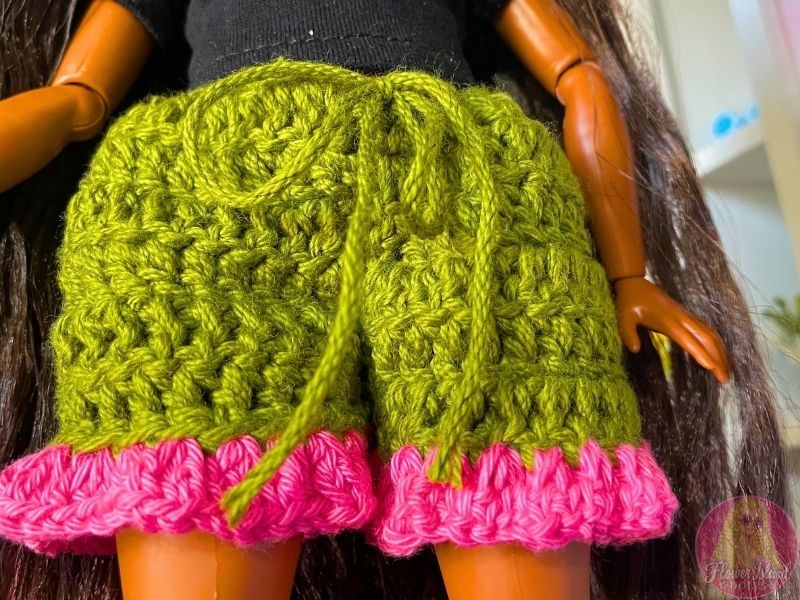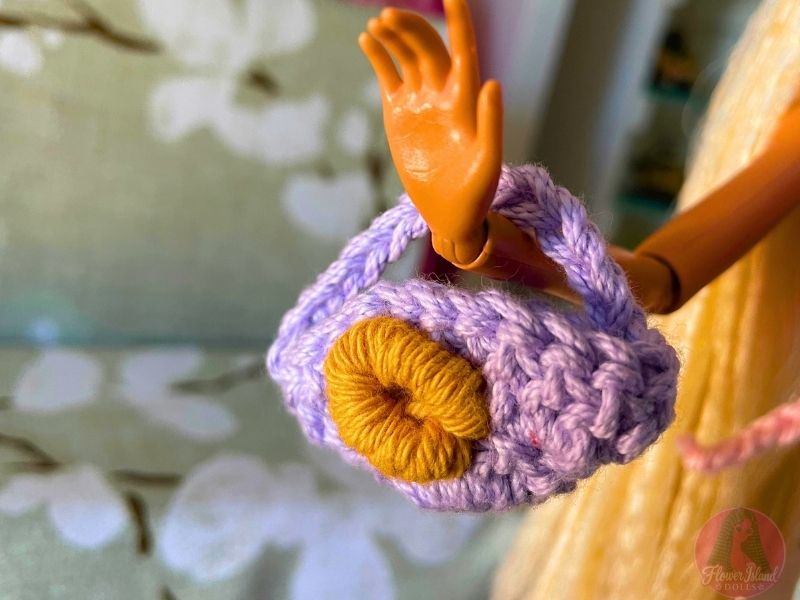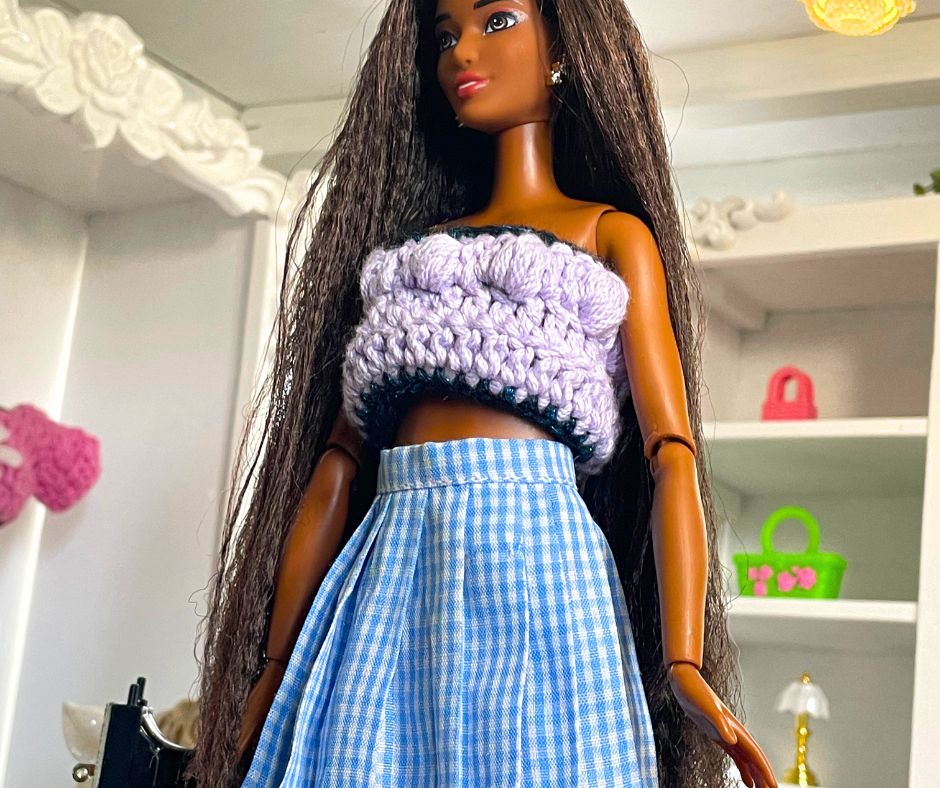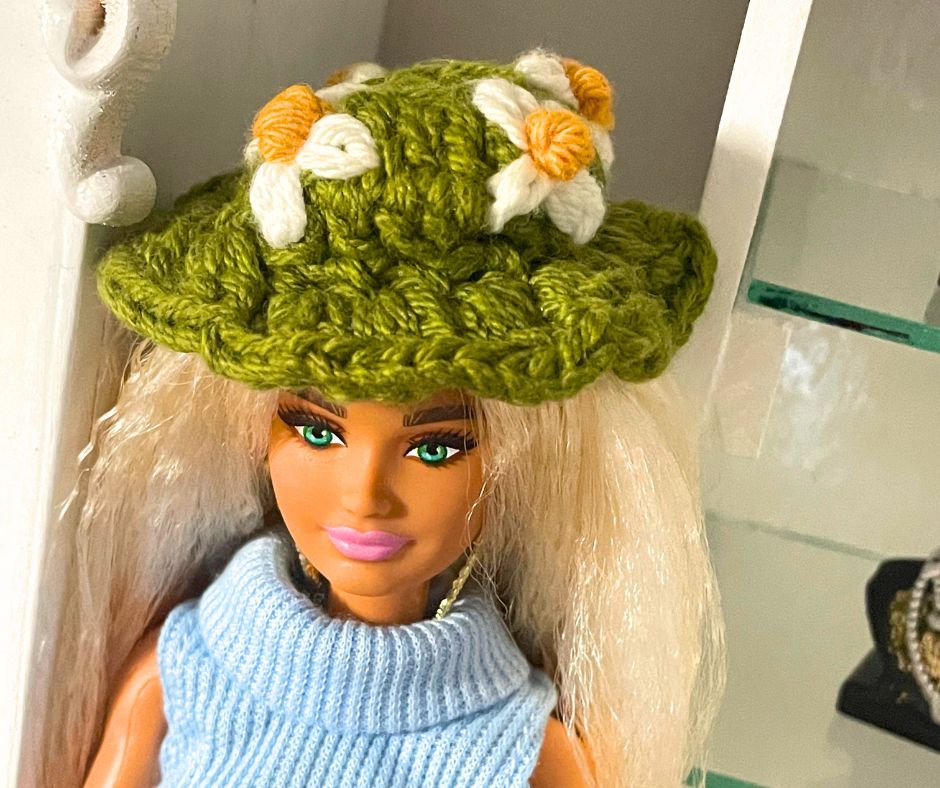
This little fashion doll Daisy Hat is such a fun project to add to your doll wardrobe. I love creating doll clothes and accessories because even the smallest projects can have so much personality. This hat has a simple crocheted crown, a full flared brim, and pretty embroidered lazy daisies that give it a charming handmade finish. It is also a wonderfully quick project for using small amounts of leftover yarn from your other doll clothes crochet projects.
What You’ll Need
For this project, you will need:
- Crochet yarn suitable for making small doll accessories
- A crochet hook suitable for your chosen yarn
- Scissors
- Yarn needle or embroidery needle
- Small amounts of contrasting yarn or embroidery thread for the lazy daisies
- Your favourite fashion doll for checking the fit
You can make the hat in one solid colour and add contrasting daisies, or have fun combining different colours for the crown, brim, and flowers.
Crochet Stitches Used
This pattern uses a few basic crochet techniques:
- Slip knot
- Chain (ch)
- Slip stitch (sl st)
- Double crochet (dc)
- Double crochet decrease (dc2tog)
- Fastening off
- Weaving in ends
- Lazy daisy embroidery stitch
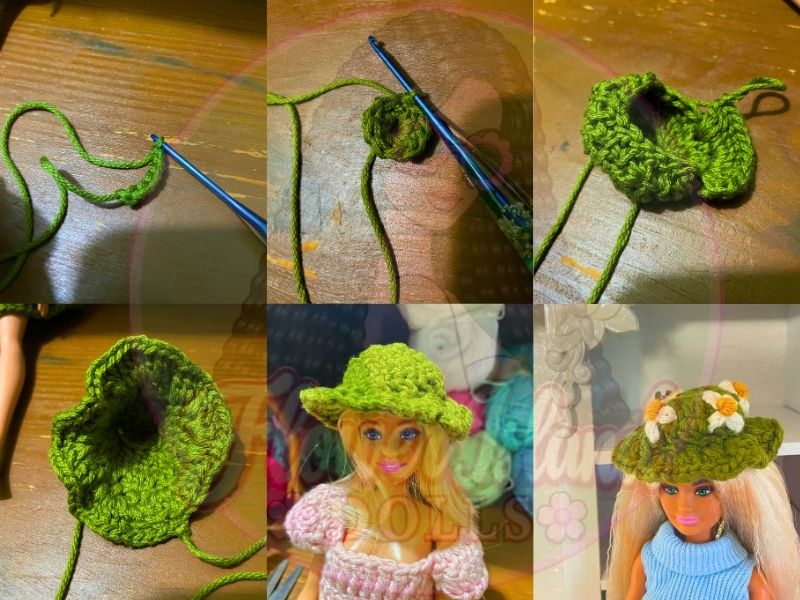
Fashion Doll Daisy Hat Crochet Pattern
Begin With a Slip Knot
Make a slip knot and place it onto your crochet hook.
Chain 6.
Bring the first and last chains together and join them with a slip stitch to create a small ring.
Row 1
Work 10 double crochets into the centre of the ring.
Once you have completed all 10 double crochets, join the end of the row to the beginning with a slip stitch.
Row 2
Chain 1.
Work 2 double crochets into every stitch around the row.
This increase helps the top of the hat grow wider.
When you reach the end of the row, join with a slip stitch.
Row 3
Chain 1.
For this row, you will begin shaping the hat by adding double crochet decreases.
Work:
1 double crochet decrease, followed by 1 full double crochet into the next stitch.
Continue repeating this sequence around the entire row:
dc2tog, 1 dc, dc2tog, 1 dc…
When the row is complete, join with a slip stitch.
Step-by-Step: How to Decrease Double Crochet (dc2tog)
If you are new to double crochet decreases, the idea is simply to begin two double crochets but finish them together so that two stitches become one.
Step 1: Yarn Over
Yarn over your hook just as you would when beginning a normal double crochet.
Step 2: Insert Your Hook Into the First Stitch
Insert your hook into the first stitch and pull up a loop.
You should now have 3 loops on your hook.
Step 3: Yarn Over and Pull Through 2 Loops
Yarn over and pull through the first 2 loops.
You should now have 2 loops remaining on your hook.
Stop here. Do not finish the double crochet.
Step 4: Yarn Over Again
Yarn over and insert your hook into the next stitch.
Step 5: Pull Up a Loop
Pull up a loop.
You should now have 4 loops on your hook.
Step 6: Yarn Over and Pull Through 2 Loops
Yarn over and pull through the first 2 loops.
You should now have 3 loops remaining on your hook.
Step 7: Complete the Decrease
Yarn over and pull through all 3 remaining loops on your hook.
Your double crochet decrease is complete! You have now joined two stitches together to create one stitch.
Row 4
Chain 1.
Work 1 double crochet into every stitch around the row.
This row continues forming the body of the little hat.
When you reach the end, join with a slip stitch.
Row 5 – Creating the Hat Brim
Chain 1.
Now it is time to create the wide, flared brim.
Work 4 double crochets into every stitch around the entire row.
Adding several double crochets into each stitch creates the fuller shape of the brim and gives the hat its cute fashion-doll look.
When you reach the end of the row, join with a slip stitch.
Fasten Off
Cut your yarn, leaving a small tail.
Pull the yarn through the final loop and tighten it to secure your crochet work.
Use a yarn needle to weave in all loose ends neatly on the inside of the hat.
Embroider the Lazy Daisies
The final detail is what turns this simple crochet hat into a Daisy Hat!
Embroidered Daisy Video Tutorial: Follow my***YouTube Embroidery Daisy Tutorial***
Thread a yarn or embroidery needle with your chosen flower colour and embroider small lazy daisies around the hat. You can scatter the flowers around the crown, place them around the brim, or create your own little arrangement.
For a classic daisy look, use white or cream for the petals with yellow centres. You could also make pink, lavender, blue, peach, or multicoloured flowers for a more whimsical version.
Keep the stitches relatively small so the flowers remain in proportion with your fashion doll.
Colour Ideas for Your Fashion Doll Daisy Hat
This tiny hat can look completely different depending on the yarn and embroidery colours you choose. Try a cream hat with white and yellow daisies for a soft cottage-inspired look, blush pink with white flowers for something romantic, or pastel blue with tiny white daisies for a sweet spring outfit.
You could also crochet several hats in different colours to coordinate with your doll’s dresses, skirts, blouses, and other handmade outfits. Because the pattern requires such a small amount of yarn, it is a lovely project for using your leftover yarn scraps.
I hope you enjoy making this little Fashion Doll Daisy Hat and adding your own colours and flower details to make it unique. Tiny handmade accessories are one of my favourite ways to give a doll wardrobe even more charm and personality. Keep visiting for more doll fashion and handmade projects, and browse the blog and download more free doll clothes sewing patterns, free doll clothes crochet patterns, and check out my beautiful dollhouse and my Barbie doll reviews.